UX Design
Solving the problem that Loop exists to solve is dependent on developing a model for a platform that is functional, efficient, and enjoyable.
See more ux design
Starting Point
The design process for the user experience of Loop started with sketching out ideas of what a ride page would look like, as well as brainstorming all of the views and states necessary to make Loop a successful, functional platform. I first started to work out how a user would arrive at the site, what they would be looking for, how they would find a ride, and what features would need to be included in order to be useful to a cyclist.
Product Description
To help myself get a better sense of what Loop needed to become, I wrote a product description of the platform as if it were fully developed, to help guide the process of creating the site functionality and interface.
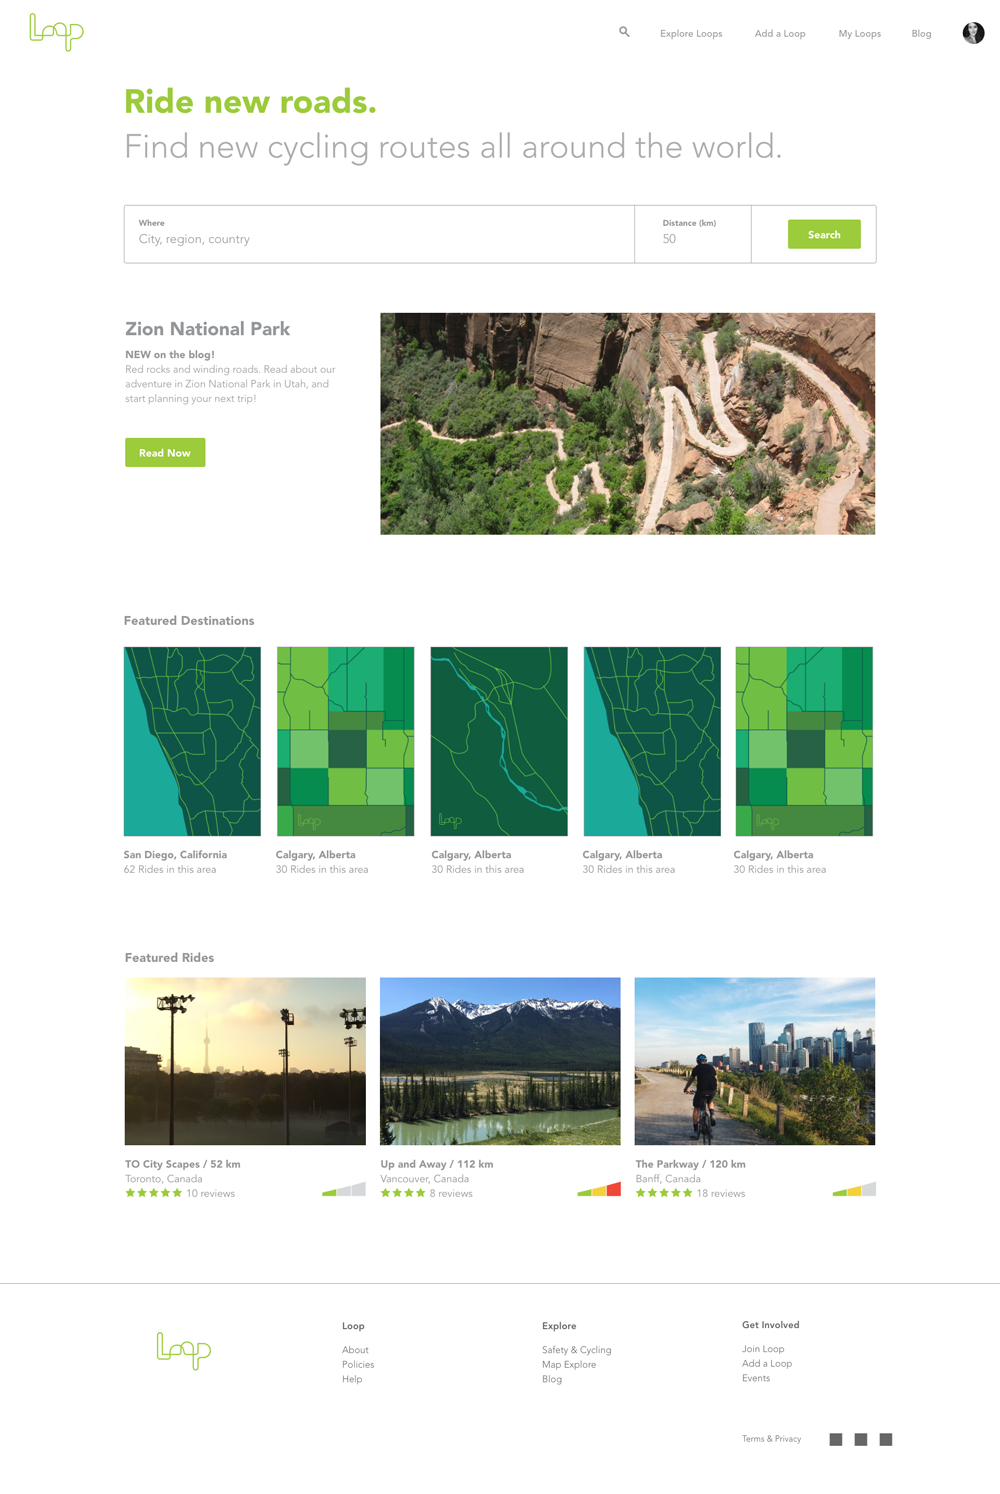
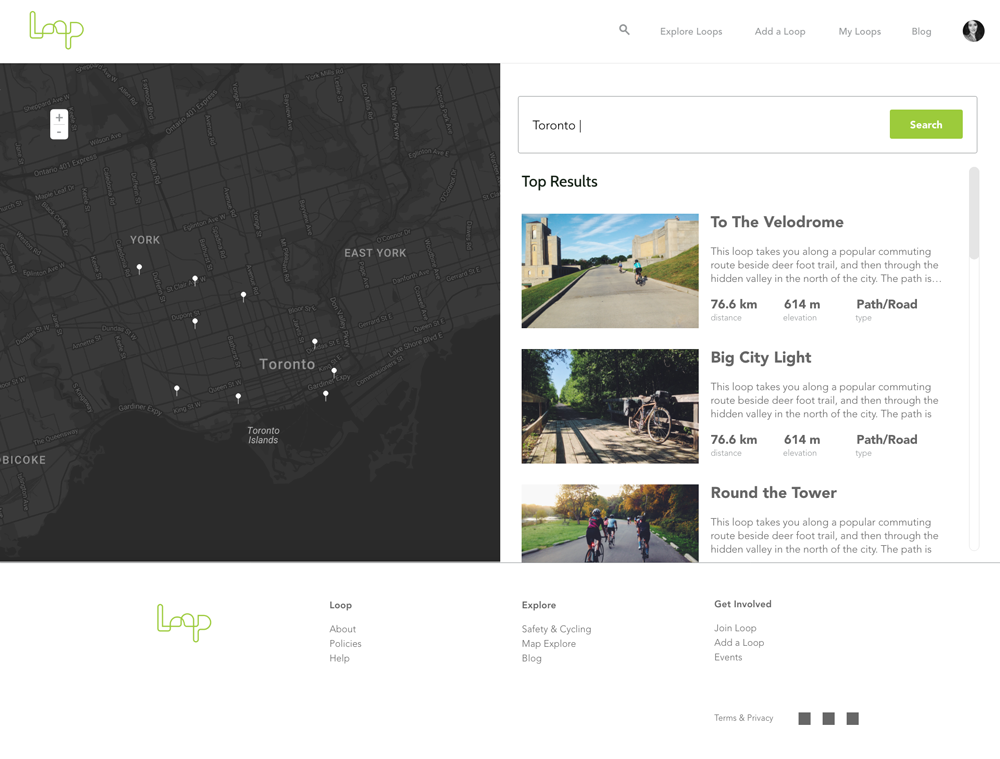
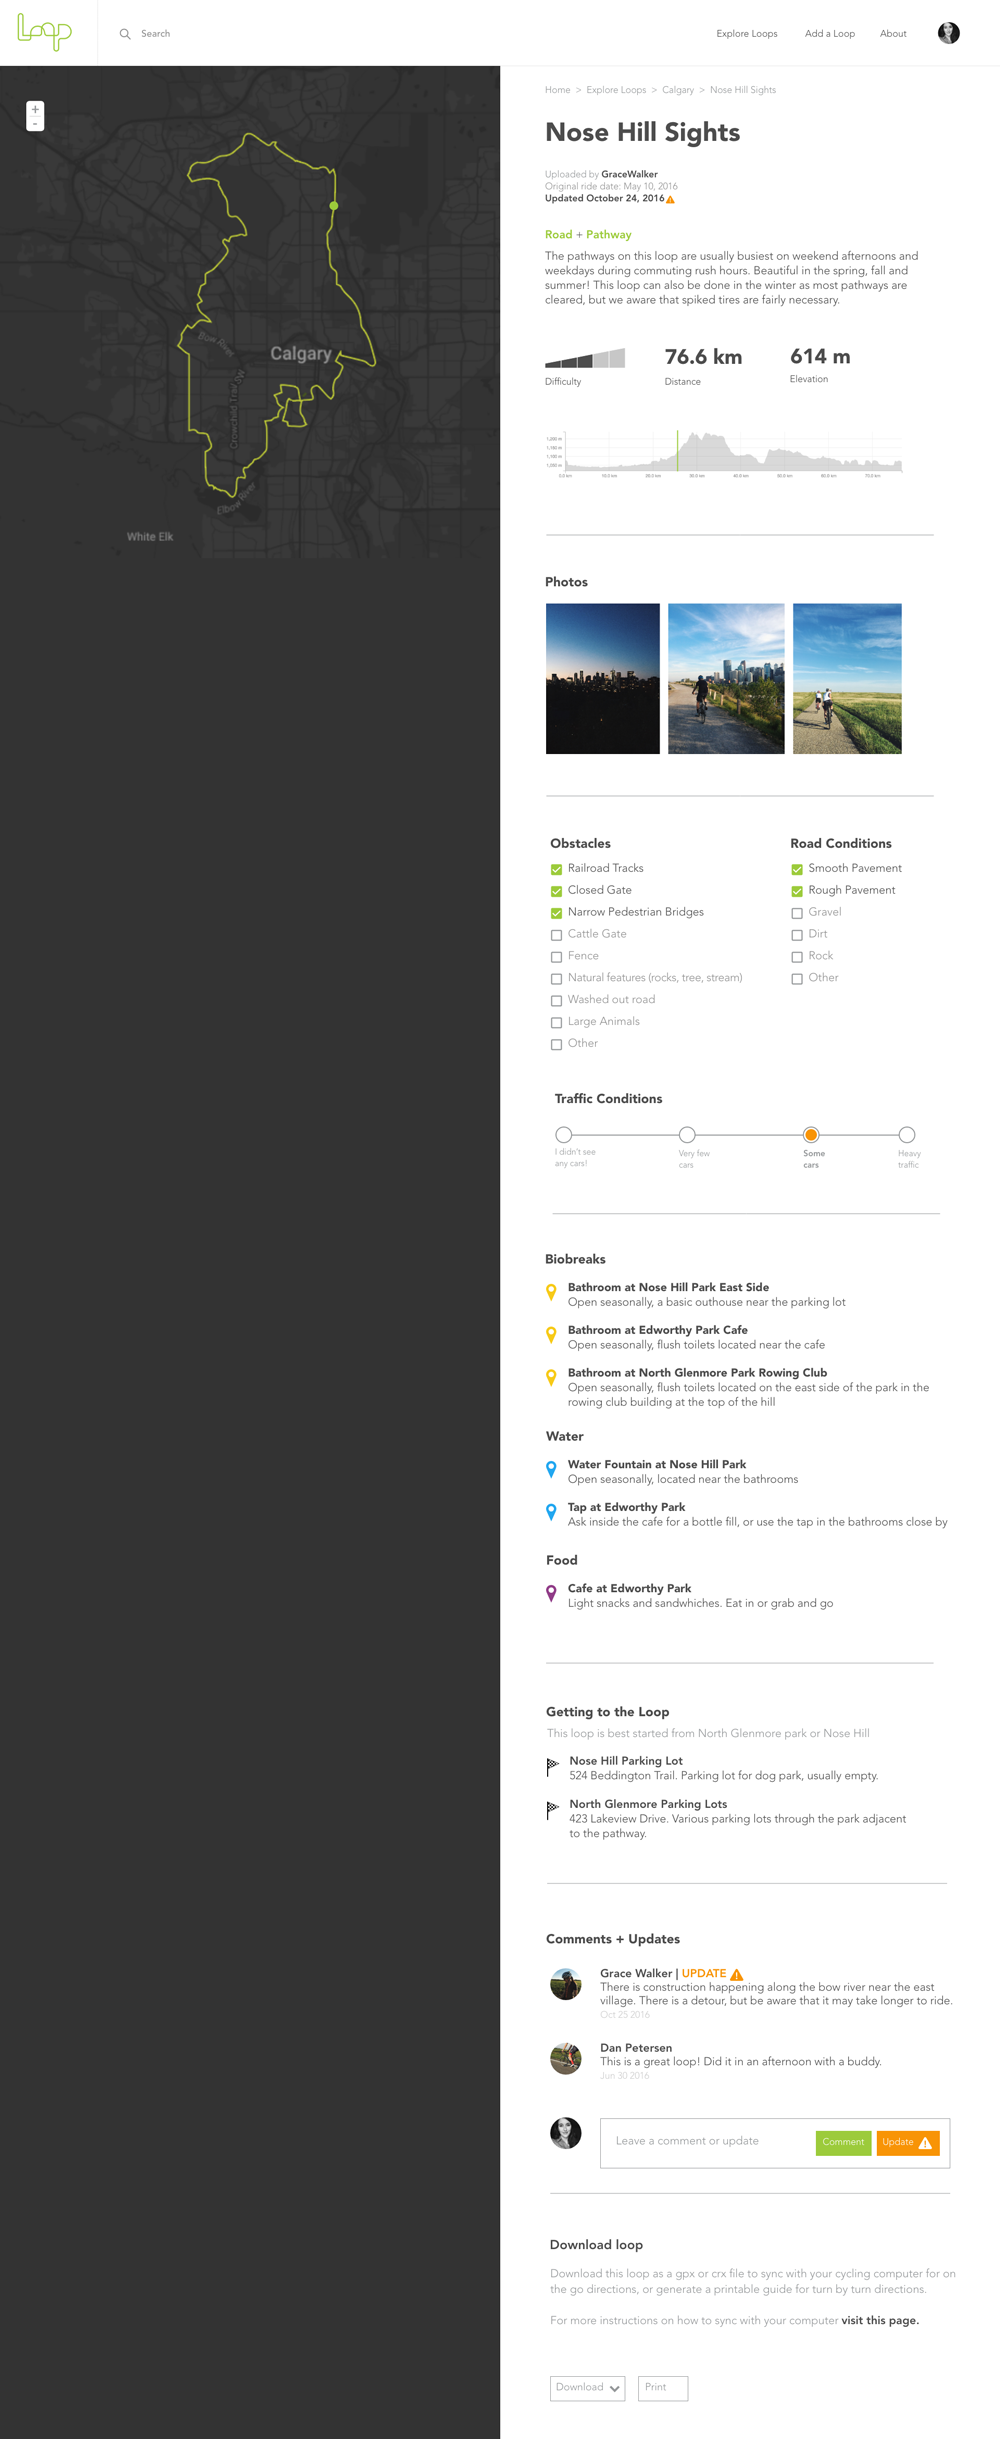
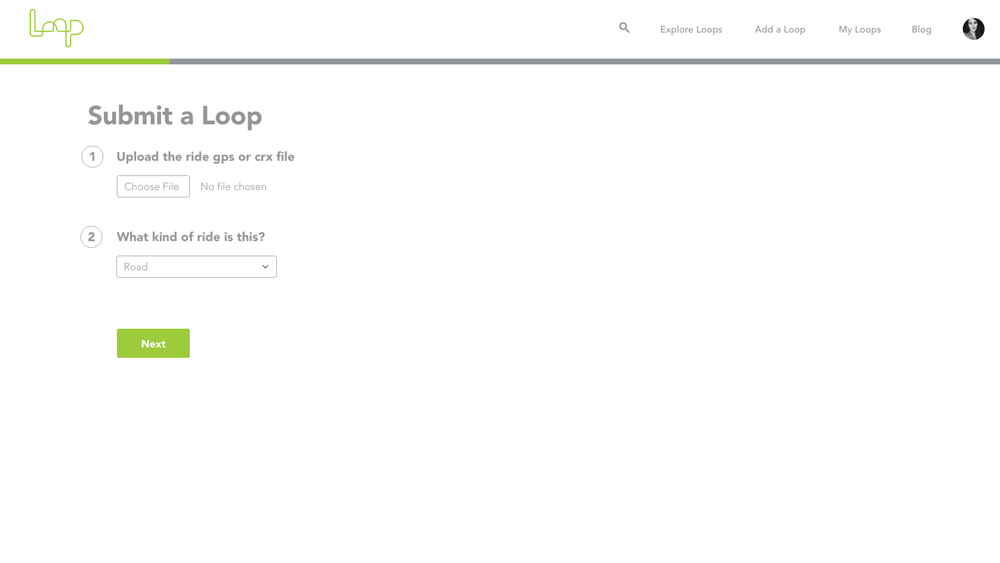
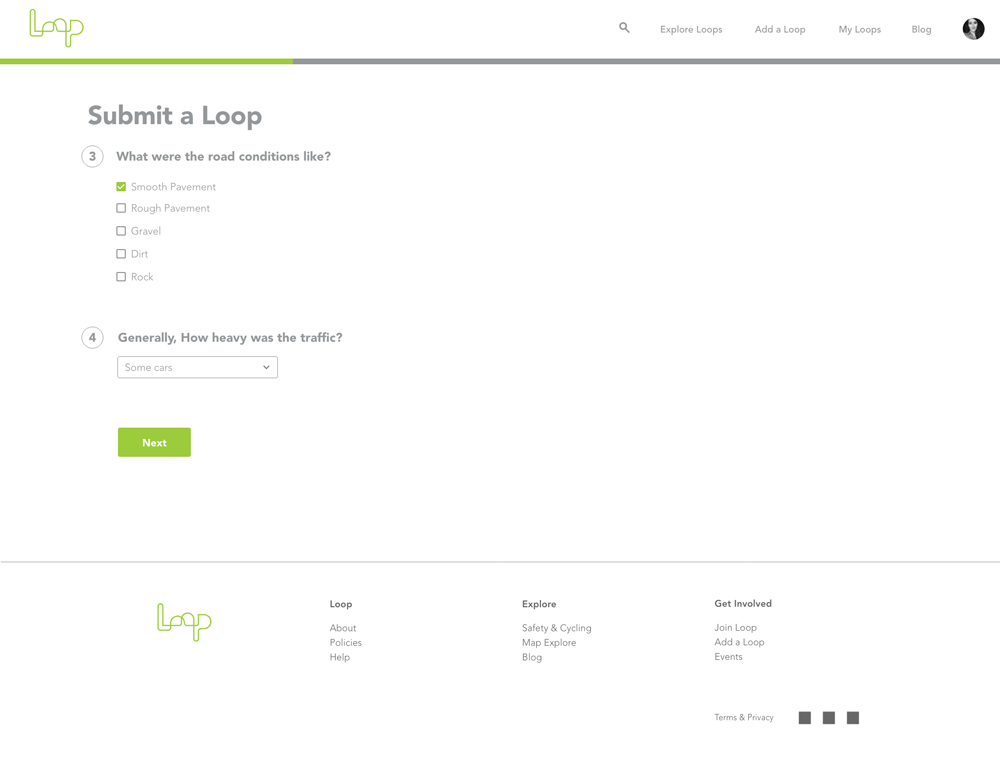
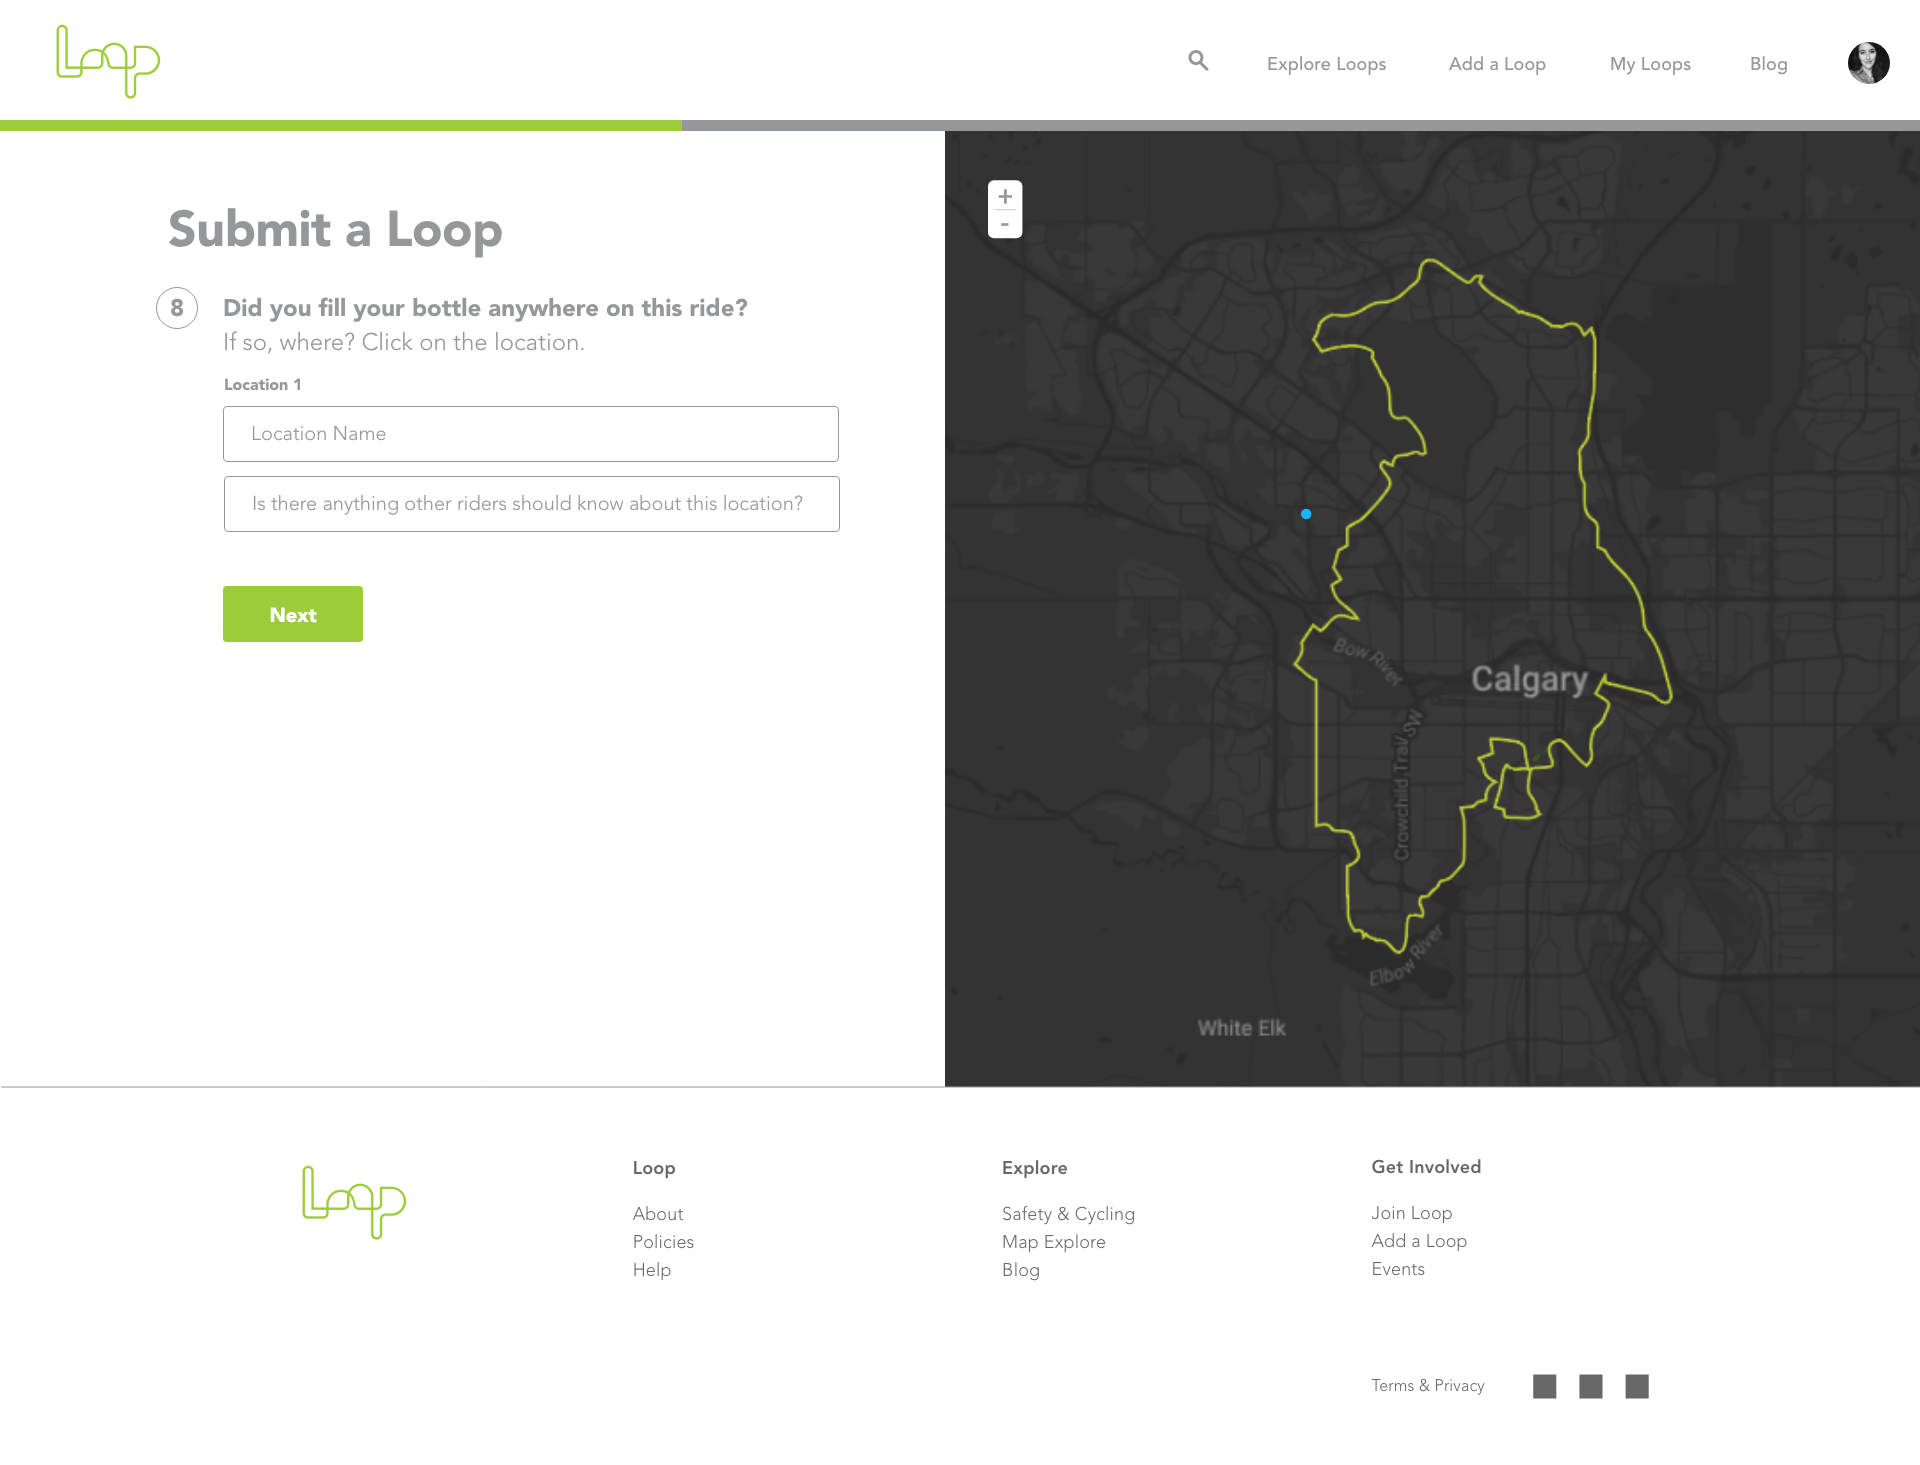
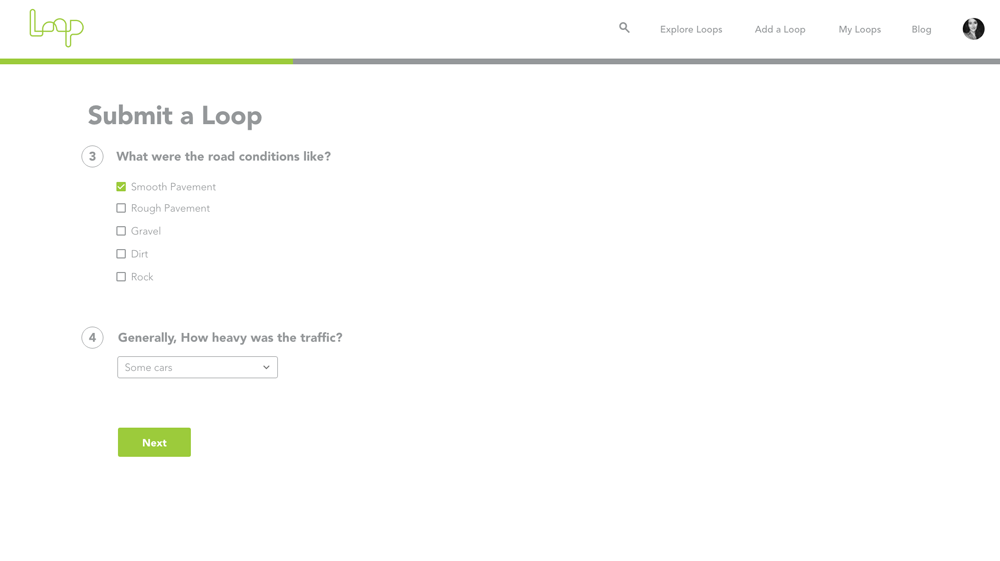
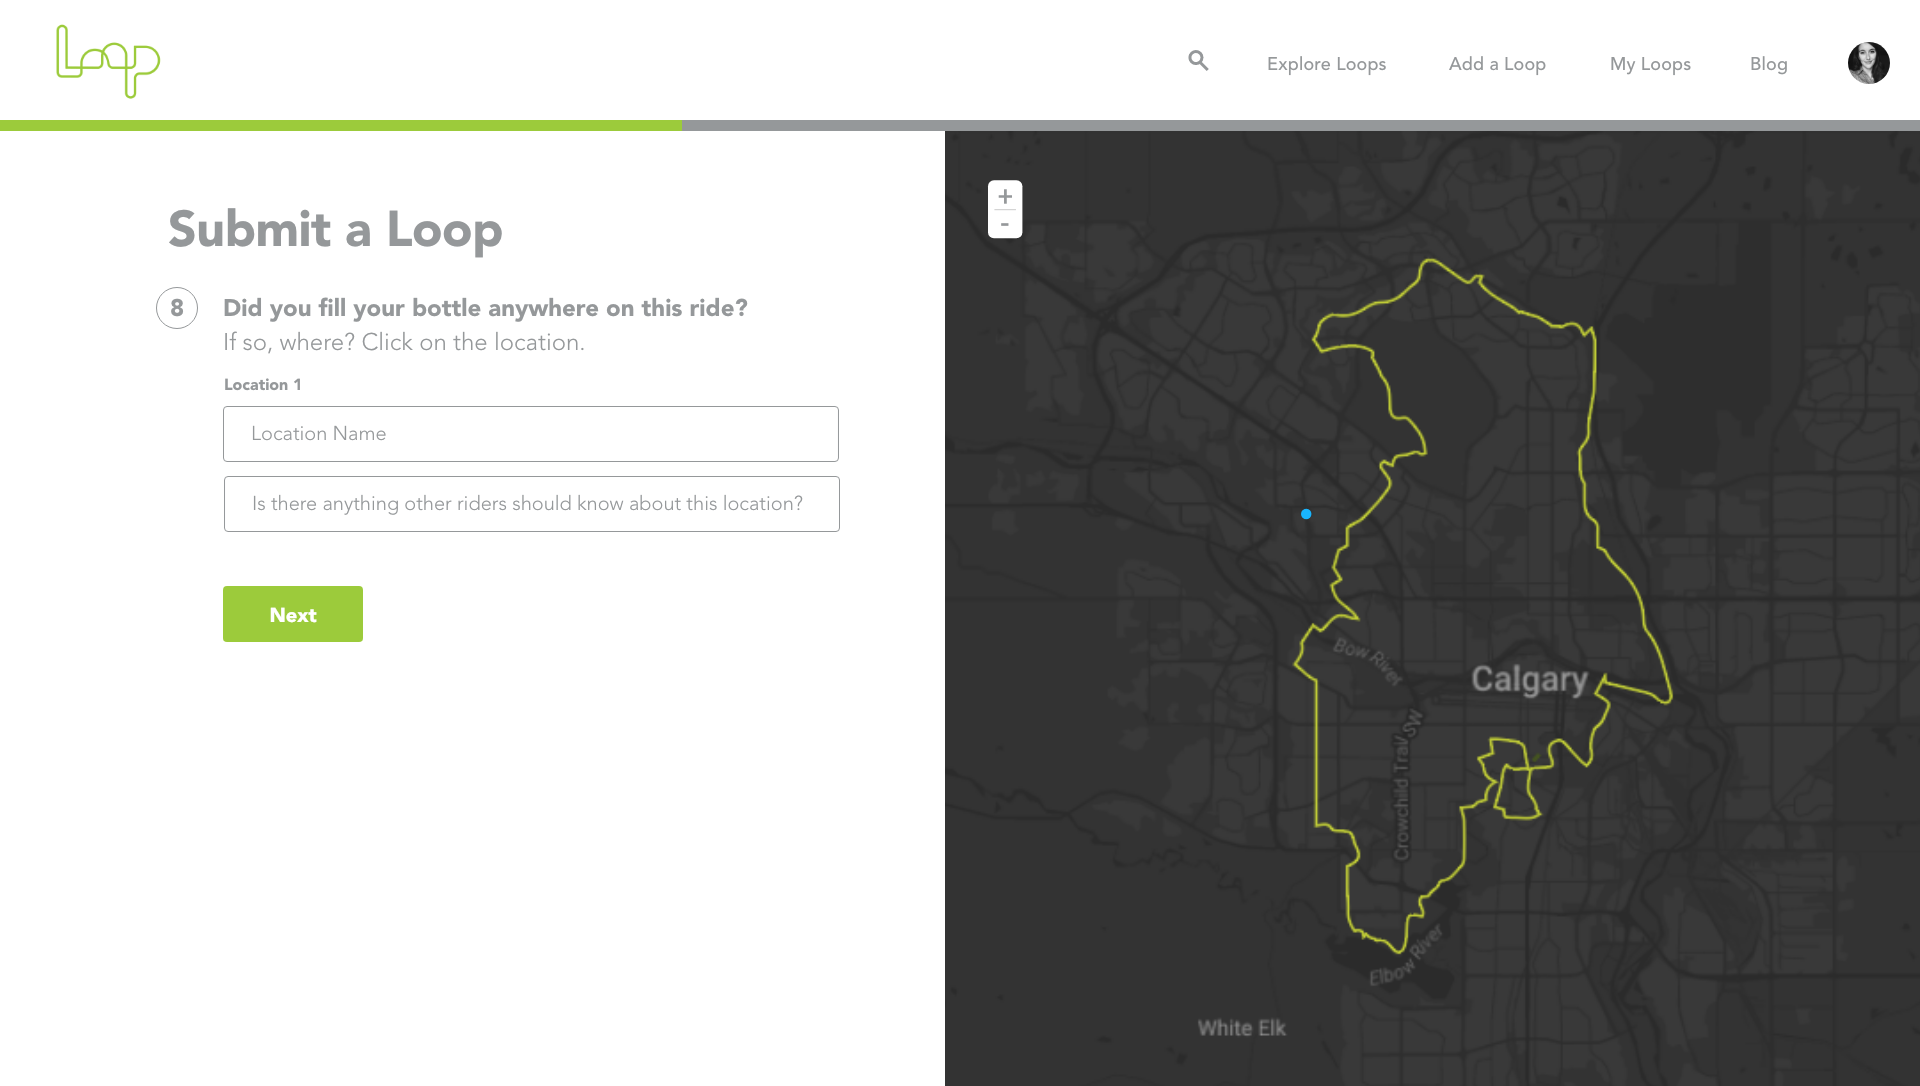
As a fully responsive platform, Loop functions on desktop, mobile, and has the ability to sync with your cycling computer for extra features. Loop collects user submitted routes through an onboarding process that not only collects quantitative gps data about a ride such as distance and elevation, but gathers qualitative data about road conditions, obstacles, and top stops for food, water, and biobreaks. Through the mobile app and capability to sync with popular cycling computers, Loop also provides turn by turn directions to keep you on track while you ride, and give you peace of mind so you can focus on what you love most, riding your bike. After your ride, our online community allows you to rate and comment on rides, as well as provide updates on road conditions and your experience with the route.
Three Key Features
1. Qualitative data 
2. Turn by turn directions
3. Community + updates
Site Overview
I designed 4 key sections of Loop to showcase how the sight might eventually function. I created a home page, search page, ride page, and onboarding pages that demonstrate some of the functionality of Loop.
Home Page
Search Page
Ride Page
Onboarding Pages
Onboarding Process
In order to display useful, relevant qualitative data about a ride route, the submission process needs to be detailed yet simple to use. Because Loop functions through user-submitted routes, having a simple, efficient process to add a ride to the site is essential. Referencing my research, interviews, and user profiles, I came up with 12 information areas to collect data in and display on a ride page. 

Here I show examples of what those pages look like and how the process of collecting information from users about a route is broken into smaller chunks. The information collected in the onboarding process will then be displayed on a ride page to communicate with other cyclists.
  • GPS Map
  • Ride Type
  • Photos
  • Road Conditions
  • Traffic Conditions
  • Road Obstacles
  • Food Locations
  • Water Locations
  • Washrooms
  • Getting There
  • Description
  • Rating
Ride Page
User-submitted, user-curated ride routes to give cyclists a sense of what a ride is really like.
The ride page is really the main point of communication on the Loop site, as it hosts all of the information about a given ride. The ride page takes all of the data collected in the onboarding process and communicates it on an information page that sits adjacent to a map, so the user is able to view the map and reference points on it while reading information about the route.
Learn more about Loop.

Stay up to date on what's next for Loop:

Thank you! Your submission has been received!
Oops! Something went wrong while submitting the form
Please contact rideloop.cc@gmail.com for all other inquiries.
© Grace Walker 2017